Insects In Flight
29th May 2020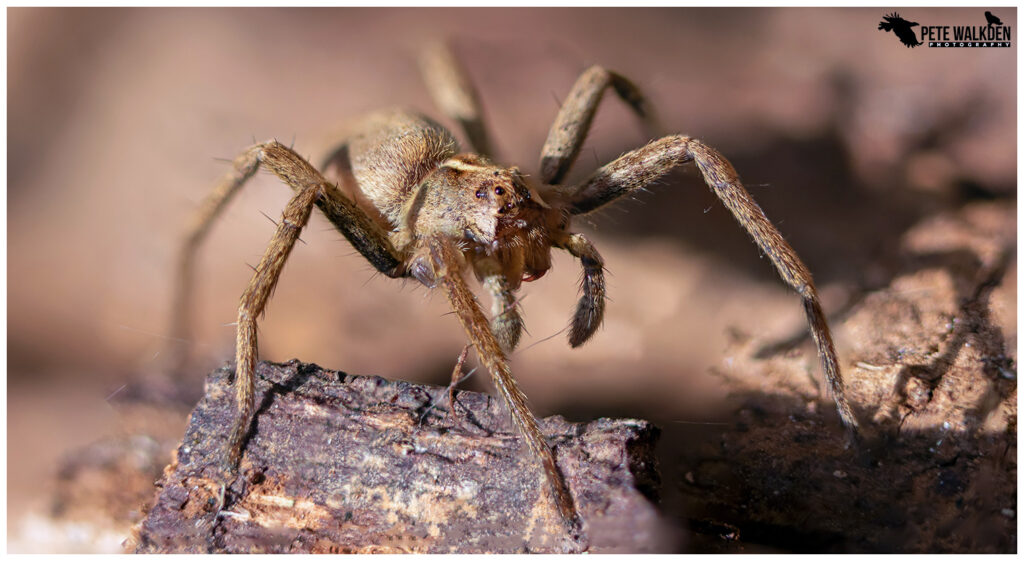
What is it?
When taking macro images of things, the depth of field is narrow generally, unless a tiny aperture is used, which then makes for a dark image, that often needs artificial light.
Focus stacking is about combining images where the focus point on the subject varies across it, over the different images, so in theory a larger section of the subject ends up being in focus.
By taking the shots at the widest aperture of the lens, more light can get in, so natural light can be used, and ISO and hence noise is kept down.
Equipment Needed
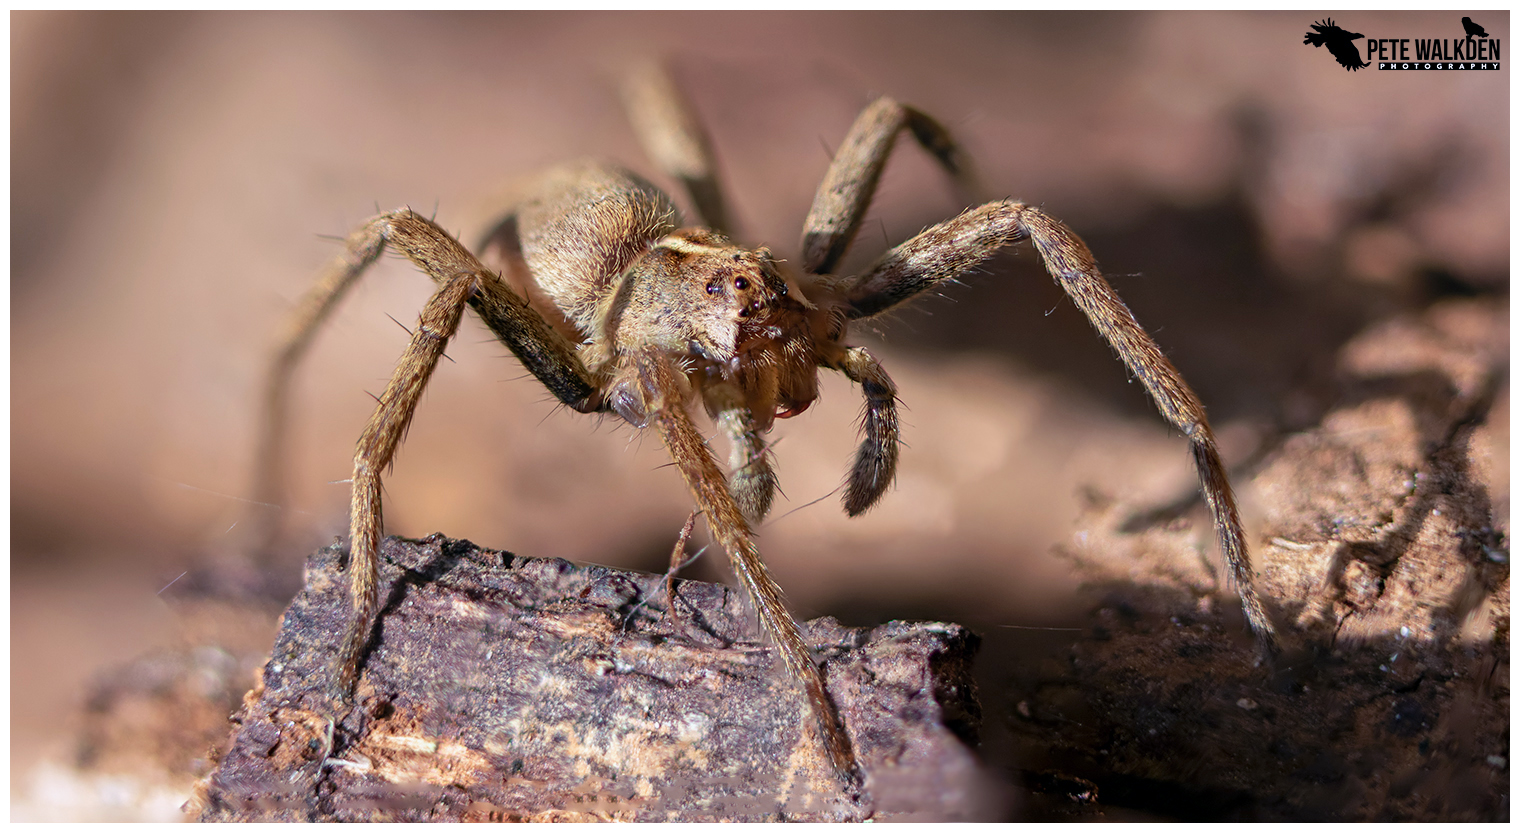
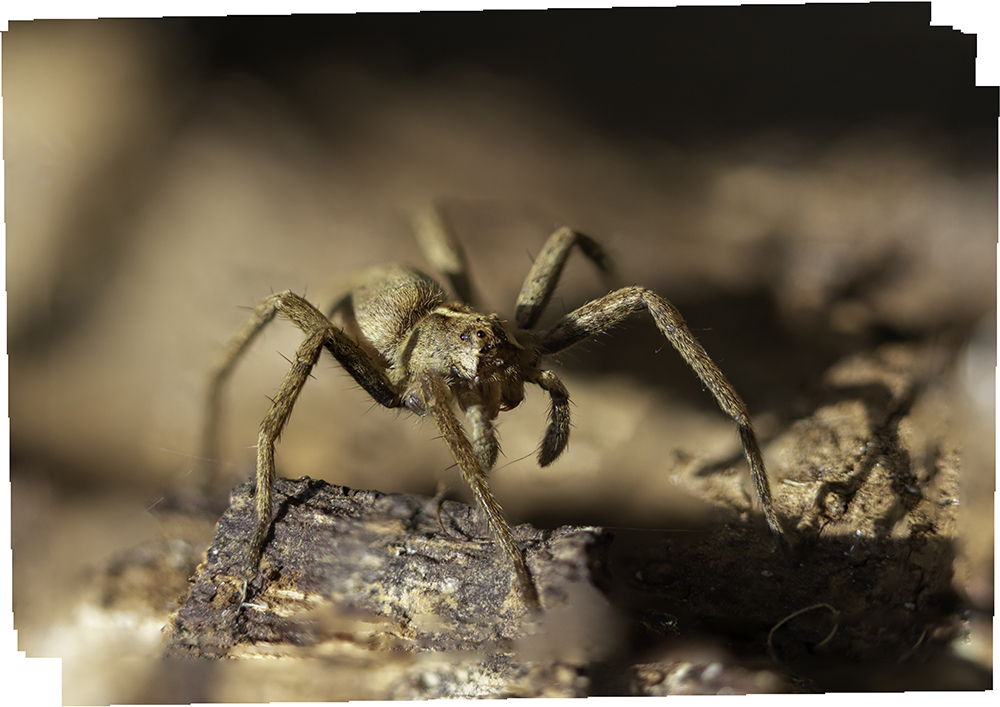
A camera, macro lens, steady hands, a computer, Lightroom (or other RAW tool) and PhotoShop (full edition), oh and a subject, like a spider in this example.
How To Take The Shots
Using Manual Mode for exposure, ensure the settings are correct for the brightness of the image. Open the lens up to its widest aperture to ensure as much light is let in as possible. Ideally keep ISO low, and shutter speed fast enough to minimise any camera shake.
Then lean into focus on the subject. Focus on part of it, perhaps the head or eyes. Take a shot.
Release the focus (or use manual focusing to avoid temptation!) and gently move the camera back and forth in front of the subject, whilst taking photos. And hope the subject doesn't move...
When you think you have covered as much of the subject as might be needed for the overall image, retreat to your computer, download the images and move on to the post-processing stages.
Post Processing
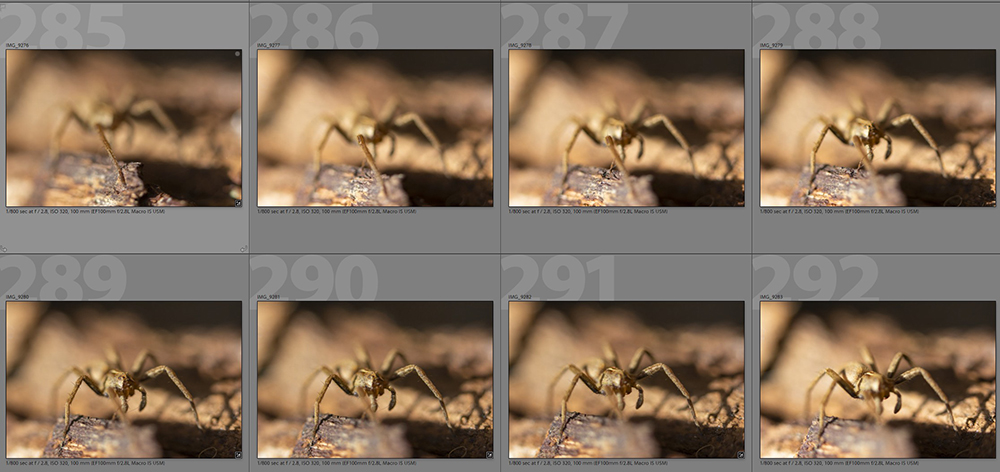
In Lightroom, try to select the images where the focus is both sharp and in the area of the subject where the final image needs to show clarity.
This is something experience will help with, as each stacked image created reveals mistakes and what needs to be done when capturing the image in the first instance.
Choose one image, perhaps the one with the eyes of the subject, and perform any adjustments needed, such as exposure, lifting shadows, dropping highlights etc. As normally done on an image for processing.
Then save the Development settings (left side, bottom of the screen, select Copy).
Return to Library Mode and select all the other images needed for the stack.
Right click on one of the selected images, then select Develop Settings --> Paste Settings, to set the selected images to all have the same processing as the original one.
Now select all the images required for the stack (on a PC, hold down Ctrl and select the images with the mouse), and right click, then Export, and choose a folder to store them in. Make a note of it.
Export all the images to the folder as JPEG images.
NB, if you have a powerful computer, this step can be replaced by choosing to Edit In --> Open As Layers In PhotoShop. But this can drain the computer's resources, so it's better to use the JPEG route...
PhotoShop - Create Stack
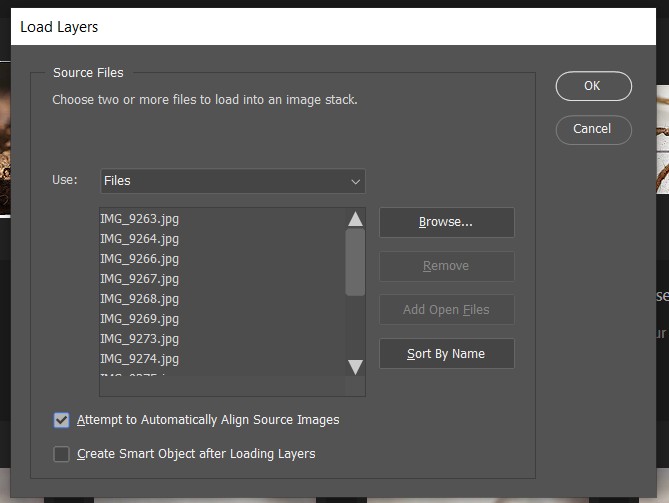
Open PhotoShop and from File Menu, select Scripts-->Load Files into Stack.
Via Browse, locate the folder where the images have been exported from Lightroom, and select all of them.
Remember to tick the box for Attempt to Automatically Align Source Images.
Then select Ok to start the processing.
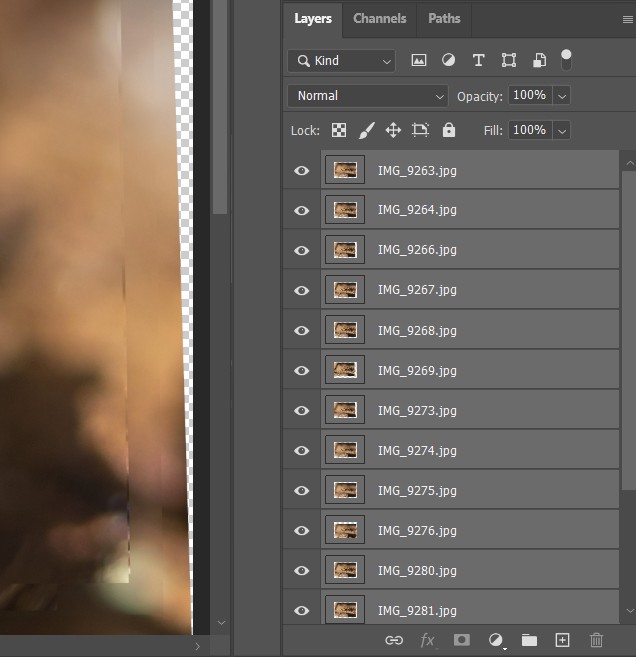
PhotoShop will then load all the images as Layers. Wait for the process to complete before going to the next step.
PhotoShop - Using Layers
On the right side of the screen, there are layers shown. If not, go to Window and select Layers, to show that tool.
Click on the top layer, and then select all the other layers. On a PC this can be done by clicking the first and then last one, holding down the Shift key. They will all be highlighted.
PhotoShop - Auto-Blending Layers
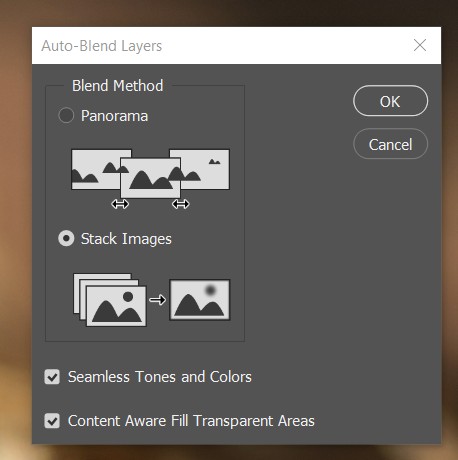
From the Edit menu select Auto-Blend Layers.
Choose Stack Images.
Ensure Seamless Tones and Colors is ticked, and the Content Aware option can also be chosen. One to play with for your preference.
Choose Ok to start the process.
PhotoShop will then start to process all the layers into one image. It automatically masks areas with content required, and tries to merge them into one image for you.
Wait for the process to complete, and PhotoShop will then show the top layer with all the work done. This is where any missing sections of detail are revealed. Hopefully none!
To save the image, it can be done via Layer menu, Flatten Image. Then it can be saved as a standard JPEG image.
Final Editing
Obviously this image can be cropped and edited as any other image can be, within PhotoShop.
The end result will hopefully show a much larger area of detail across the subject than just one image could yield. Have fun!